5 Ideas for Making DIY Scented Sachets at Home

WePack offers a sachet filling service that can be applied to everything from chocolates and sweets to gels, lotions and creams. However, we also enjoy inspiring our customers to get creative and do a bit of DIY, so here’s a quick guide that explains how to fill scented sachets at home.
What are scented sachets?
Scented sachets are very popular because they can be placed all around the home to freshen up a living space. Many people hang them on walls and especially over windows, as this will allow the flowing air to fill each room with a pleasing aroma.
Scented sachets can also be placed on or close to pillows, inside clothing drawers, at the top of wardrobes, and anywhere else that will benefit from a subtle yet soothing scent.
What do I need to make scented sachets?
To make your scented sachets with an aromatic filling, you’ll need the following:
- A breathable fabric
- Needle and thread
- Scissors
- Dry rice
- Dried lavender

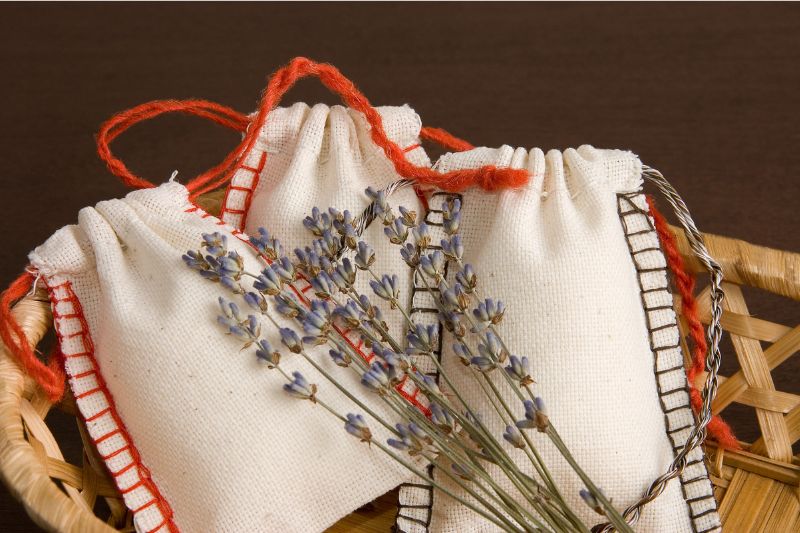
Idea 1: Make scented sachets from scratch
Here’s how to make your scented sachets, which is a fun little activity for when you’re enjoying some “me time”, plus you can even get the kids involved. (This is the full DIY approach, but if you don’t have time we’ve popped an easier version further down this article.)
- Take a bowl and mix two parts lavender with one part rice. The rice will help to bulk out the sachet and also prevents the scent of the lavender from becoming overpowering.
- Measure two squares of fabric each at least 4 inches in length. If you’d like larger scented sachets, choose your own measurements and make sure you have enough filling.
- Cut out the fabric squares and place one on top of the other, with the pattern facing inwards.
- Sew three sides of the squares together, leaving a little space around the edges. Alternatively, use a sewing machine if you have one.
- You should now have an inside-out pouch with one end left open. If the corners are a little too large, you can snip them off but make sure not to damage the stitching.
- Turn the pouch in on itself so that the fabric’s pattern is on the outside.
- Fill the pouch with the mix of rice and lavender, leaving enough room to sew up the remaining side.
- Fold some of the unsewn fabric into the pouch and sew it up. Alternatively, if you think you’d like to regularly replace the contents with fresh lavender, simply tie the top of the pouch with string or lace so that it can be opened when required.
Idea 2: Quick and easy ways to make DIY scented sachets
Sometimes you just can’t find enough time to do the full DIY version, so here are some much faster and easier ways to make your own scented sachets:
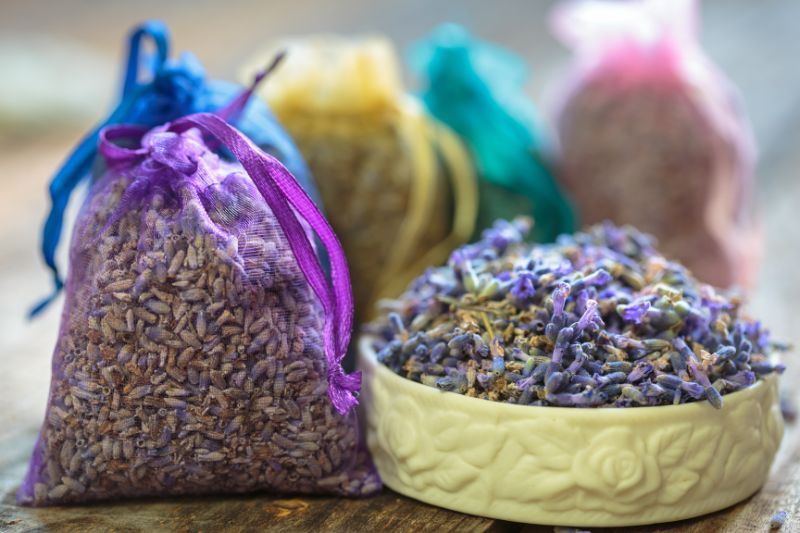
- Buy some lightweight fabric pouches, which can be found in most craft stores such as Hobbycraft and on e-commerce websites such as Amazon. Once filled, tie the top with a length of string.
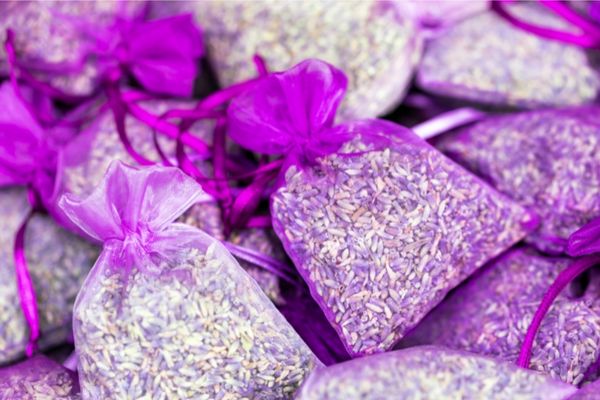
- Bridal shower or wedding favour bags also work really well for DIY scented sachets. The fabric is usually thin like a net, which allows the aroma to spread throughout a room more easily.
- Create a sachet by folding a large sheet of paper. We recommend choosing a slightly thicker paper with a nice pattern, such as high-quality wrapping paper. The sachet can then be filled and closed up with tape.
- If you have a spare handkerchief, this can easily be made into a sachet by filling it with lavender and then loosely tying the top of the hankie.
- Some people even use a sock to make DIY scented sachets (make sure it’s a clean one). You can then secure the top of the sock with string or even an elastic band.
Idea 3: Alternative fillings for scented sachets
Lavender is by far the most popular choice when creating DIY scented sachets. However, there are many alternatives that you can experiment with, such as potpourri, dried mint leaves, lilac blossoms or rose petals, cedar chips or shavings. Be creative and see what works best – you never know, you may create a totally unique scented sachet filling that no one else has ever tried!

Idea 4: Essential oil sachets
Essential oils are another popular alternative for filling a DIY sachet, as it’s a very easy method and you can top up the scent each time it begins to fade. Simply create a scented bag and fill it with half a handful of dry white rice, half a handful of dry herbs (such as rosemary) and half a handful of dry spices (cinnamon or cloves work particularly well). Next, take your favourite essential oil and add around 40 drops to the mixture, giving it a gentle shake every 10 drops. We recommend trying a classic essential oil to begin with, such as lavender, peppermint, lemon or jasmine. Or perhaps you’d like to try something more adventurous, such as mixing bergamot with frankincense or grapefruit with neroli.
When the aroma eventually begins to disappear, all you have to do is add more essential oil to the bag and it will be as good as new. Don’t worry about using multiple scents in the same bag as time goes on, as they could very well complement one another. If not, just empty out the contents and add in a fresh mix of dried rice, herbs, spices and essential oils.
Idea 5: Scented sachets for your car
Have you ever noticed that air fresheners for cars really don’t last very long? Sometimes it only takes a couple of weeks for their scent to disappear entirely, leaving nothing but a hanging ornament that has no function. Instead, why not try a DIY scented sachet in your car?
Rather than hanging it from the rear view mirror, place it under your seat or in a side pocket. This way it won’t obscure your vision whilst driving and the aroma is given the chance to gently waft around the whole vehicle. Many people keep a DIY scented sachet in the passenger area and add another to the boot, as that way the entire vehicle will smell fresh and welcoming throughout the day.
The benefits of DIY scented sachets
Aside from smelling amazing, there are multiple reasons to add homemade scented sachets to your home, such as:
- They look charming, friendly and welcoming.
- You can choose a scent that relaxes, inspires, cheers or invigorates.
- Certain aromas can trigger happy memories, so have a think about which scents hold the most nostalgic value.
- Fresh and pleasant smells can make a home feel more hygienic.
- Some essential oils repel household pests, especially rosemary (mosquitos), thyme (ticks and fleas), citronella (fleas and mosquitos), sage (fleas and flies), and peppermint (everything from spiders and moths to ants and houseflies).
Pop your DIY scented sachet in your sock drawer
There you have it – one homemade scented sachet that looks great and smells amazing. Now it’s time to place it wherever you like, such as in a sock drawer, the bathroom, on a coat rack, inside a bedside cabinet, in your car or anywhere else that you’d like to freshen up with the wonderful scent of lavender.
Get in touch about sachet filling
If you’re interested in our sachet filling service, we’d be delighted to answer your questions and help you to customise our offering to your exact requirements. To find out more, get in touch on 0115 852 9000 or fill in our contact form.

